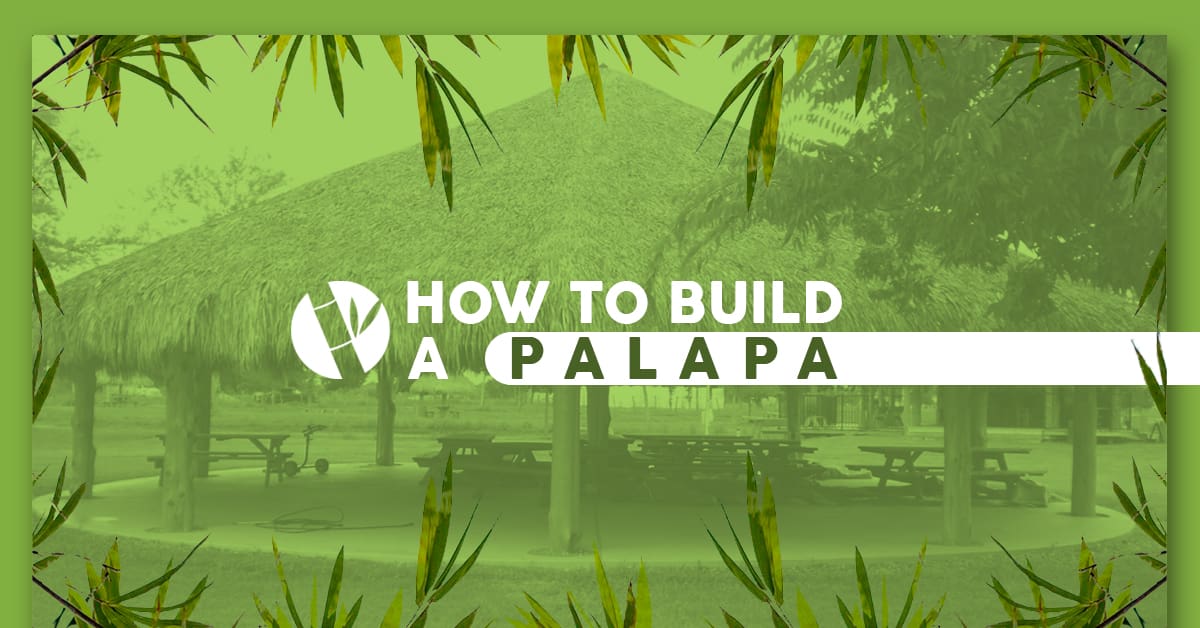
Beaches, resorts and water parks have a distinct tropical ambiance that’s enhanced by many accessories and features, but the shelters that stand out at these destinations are the thatch-roofed structures — palapas. Palapas are found on coastal establishments and other themed locations, and these tropical huts offer an enjoyable setting to lounge in and avoid harsh sun rays.
Jump To Sections:
- Parts of the Palapa
- Steps for Building a Palapa
- Tips for Building the Perfect Palapa
- Palapa Supplies
These shelters are typically topped with thatch, and traditional versions have open sides and supporting posts made of bamboo or wood. This kind of thatched roof originated in Mexico, but the structures have spread to new areas. Your residential or commercial location can also feature a palapa thatch structure if you have an unobstructed building zone, the right materials and a clear understanding of the construction process.
If you’re renovating your theme park, backyard, amusement park, resort, water park or even a zoo, follow this palapa building guide to add an attractive sense of beach style. Palapas can come in many different shapes and sizes and are not overly complicated to build.
Parts of the Palapa
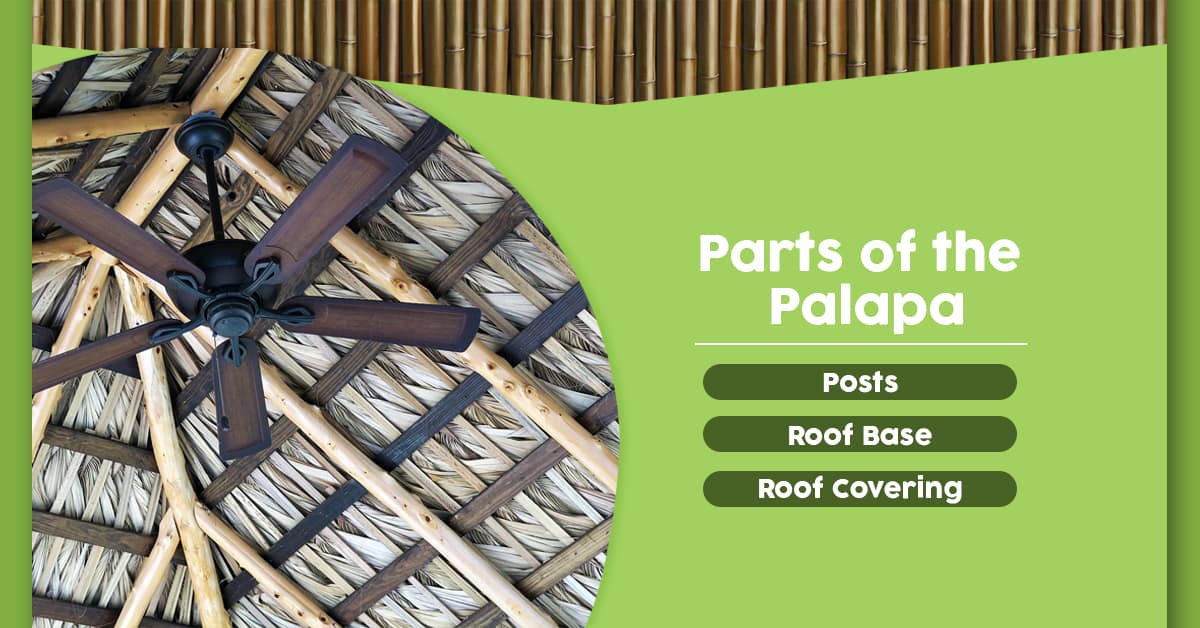
Palapas bring a tropical feel to each location they’re included in, but they also deliver other benefits, like their relative ease of installation. Before gathering products and assembling a palapa, it’s important to understand the composition of the structure. The essential parts of palapas are base poles, a roof base and a roof covering. Because palapa structures differ in many ways — usually size, color and variety of material — the design of your structure will also differ from others once several factors are accounted for.
1. Posts
The poles of a palapa vary in number, usually ranging between one and four poles to establish a sturdy base. The length of the poles should be high enough to accommodate an average person’s height so that standing is comfortable. The amount of post that’s inserted into the ground and cemented or secured as a foundation also needs to be accounted for in addition to the desired height. A typical palapa’s height is generally between eight and 12 feet. Adjustable bases can secure the posts to make the structure available for transport.
The post material can be wood or bamboo. Bamboo gives your palapa an authentic appearance, and it has a higher tensile strength than steel and considerable strength to weight ratio. Artificial bamboo also retains the tropical look of the palapa while providing shade and style that’s especially fitting for your commercial business.
2. Roof Base
The roof base consists of additional posts, plywood or another surface to add infrastructure on which to put the thatch. Latillas are a form of supporting branches that are thin and configure the ceiling of the palapa. Latillas are layered in a pleasing pattern in between roof posts and sometimes left exposed because of their earthy effect. The roof base is normally set up in various tiers, but the distinctiveness of the tiers depends on the roof base design.
3. Roof Covering
The roof covering consists of dried palm fronds or artificial thatch, which is another benefit of palapas — not only does thatching look appealing, but it’s also eco-friendly. Thatch roof covering is fastened with nails or attached with staples. Thatch panels are sections of palm that act similarly to roofing tiles, and these panels of palm are relatively convenient options. Palm thatch runners are rolls of thatch used in roofing projects.
Mexican palm thatch is a popular version because of the palapa origin and its shaggy look. A Mexican rain cape is a large woven panel of thatch that was formerly used as protection against rain. However, these Mexican palm thatch panels have slightly different uses now.
While Mexican palm thatch is popular in palapa thatch structures, African Cape reed thatch is also a viable option for covering your structure’s roof. This type looks wonderful, is sturdy and has insulation benefits. If you’d prefer your palapa thatch structure to be cooler in the summer and warmer in the winter, this material will serve you well.
Tahitian palm thatch, also referred to as Fiji thatch, is another solution that can adorn your palapa in woven panels. Fiji thatch’s lifespan, depending on climate and condition, lasts up to 10 years.
Artificial thatch is comparable in appearance and although it is on the expensive the lifespan is longer than natural alternatives. For instance, Viro thatch mirrors the look of African Cape, but it also comes in a Java-style thatch, which reflects a Mexican thatch look. The texture still resembles traditional thatch, but the added benefits may be right for your project. This synthetic material is dependable, and it’s another eco-friendly option.
Additional Materials Needed
Building a palapa requires additional materials beyond bamboo poles for the posts and thatch material for the roofing. Bolts, nails or staples will be necessary to secure the latillas or plywood for the roof structure in place. The thatch will also require staples, zip ties or nails to be attached to the roof frame. If you’re creating a permanent palapa, materials for digging the post holes like shovels and a tape measure will be necessary. Cement mix, a cement mixer and a funnel should also be obtained for filling the holes.
How to Build a Palapa Roof
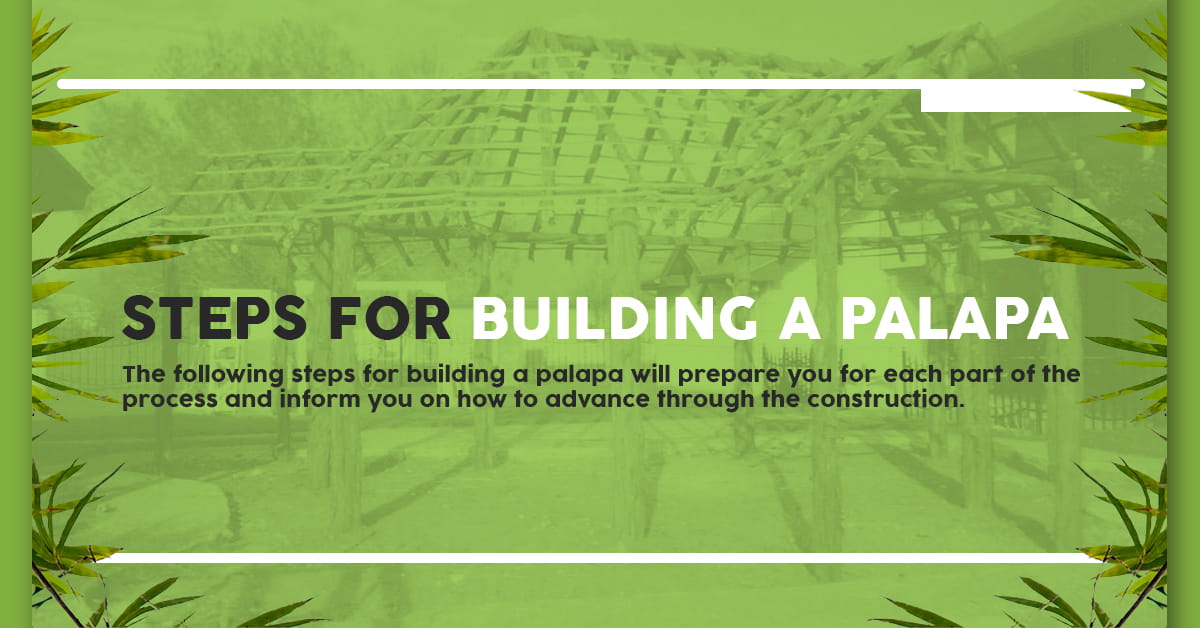
The following steps for building a palapa will prepare you for each part of the process and inform you on how to advance through the construction. Follow these crucial steps to construct your own palapa and create a tropical setting for your location.
1. Make a Plan
Reserve an appropriate amount of time for the project. This estimation should be based on the amount of help you’ve recruited, the size of your project and the layout of your area. Put aside several days that you can devote to the project without distractions — the DIY palapa will reflect the amount of time you allotted for the project once it’s finished.
Consider the area you’ll build the palapa on. Does it come with any obstacles that you’ll have to remove before starting the project? Are there overhanging hindrances that will interfere with a structure of the ideal height? Clear the location in advance so that your project is not halted or unnecessarily lengthened by poor planning.
Certain palapa structures can be movable, but generally, they’re built to stay in one spot. Determine whether you’ll want to purchase adjustable posts for elevating a palapa on a surface you wouldn’t dig through, like a patio area, or if you prefer for the palapa to be cemented into the ground.
You should also remember to recruit sufficient help for the project. Doing so may include hiring professional services for certain elements of the process, like a consultation or clearing of the area that you want to build on. Find help for unloading your materials and directly working on the construction of the palapa as well. The bamboo posts may be difficult to handle on your own, as they’re long — enlist friends, family, employees or temporary help to assist.
2. Gather Tools and Materials
Once you’ve planned how you want to build your own palapa, you’ll need to gather tools and materials. You can determine what tools you’ll need for the project based on the previous planning. Also, consider gathering gloves, safety goggles, a hammer, a saw and earplugs or similar ear protection, especially if you use a nail gun and/or a table saw.
After making measurements of the intended location, apply these specifications to your shopping. Retrieve materials that will fit your vision for your palapa. Remember to obtain plywood, latillas, bamboo or alternate posts, framing nails, lag bolts, staples and thatching.
Wear protective attire as well, especially when attaching the thatch. Work in long sleeves and thick pants, and try to cover any exposed skin that may come into contact with the bristly thatch, as it can irritate your skin.
3. Establish the Foundation
Based on previous planning, mark the desired position and layout of the palapa. Designating measurements will make the digging site apparent and reduce placement mistakes.
Dig the appropriately sized holes at a depth that will keep them secure but not substantially reduce the height of the structure. Ensure that your building is in line with building regulations, and notify the proper authorities about your plans. Certain building regulations stipulate a required distance of a new structure from the property line, so check your plans to confirm that they line up with building codes and regulations.
Your footings should reach a depth further than the frost line, because weather-related cycles can move them despite other safeguards you put in place. Your local terrain will determine the frost line, so consult your area’s resources to determine the depth you should dig to before completing your post footings.
Once your footings are filled with cement and securing your posts, you’ll need to allow them to dry. Wait for 24 to 48 hours before continuing your work on the palapa. The next steps for building a palapa include actions that will put weight on the poles, and most kinds of cement require a standard period before any weight is placed on the cemented foundation.
4. Build the Roof Base
Constructing the frame of the roof is a vital step. To get the roof to a peaked structure, the posts must first be connected. Make sure the roof frame, plywood or other material can enclose the top of the posts as a square. Extend a beam horizontally through the middle of this structure for stability. By fastening the roof poles to a central point, you can ensure the roof beams are supported and set at a steep incline. Plywood can then be placed in conjunction with the frame to form a stable base.
Stringing latillas is the practice of adding small branches or thin, peeled wood in between the roof beams. The tight formation of wood is an alternate option from plywood, and thatching can be laid directly on it and secured for the final steps.
5. Construct the Roof
Thatching the roof involves overlapping thatch panels and affixing them to the structure using zip ties, nails or staples. For two- or four-post palapas, begin at the bottom of your roof, and move across each line before shifting to the line above. This process allows the higher lines to cover the top of the lower lines with the fibrous dried palms. For single-post palapas, your thatching will create a spiral as you move from the bottom of the roof toward the top.
A runner roll, the alternative to paneling, makes this process relatively expedient. Rather than each panel being placed and secured, unraveling the roll for each line produces fewer stops for holding individual pieces and nailing or stapling them.
Adding an extra pair of eyes during the thatching stage is helpful. Checking that the thatching is placed at the optimal point in conjunction with the other pieces will produce an agreeable finish. Create tight layers, placing each panel of thatching snugly to avoid gaping spots. The edges of your palapa should look shaggy, with the thatch extending slightly beyond the edges.
6. Add Finishing Touches
Encasing any visible materials with more bamboo or tropical accents can lend a festive mood to your palapa. Highlighting the surrounding decor with authentic art and displays can put the palapa back in its original setting. Add creative touches that pull the look together.
Handcrafted Tiki masks and tropical signs are excellent choices to spruce up your newly finished palapa. Whether you feature a surfboard or a flower sign, your palapa will transport your visitors to a tropical location or emphasize the fact that they’re presently enjoying a vacation.
Tips for Building the Perfect Palapa
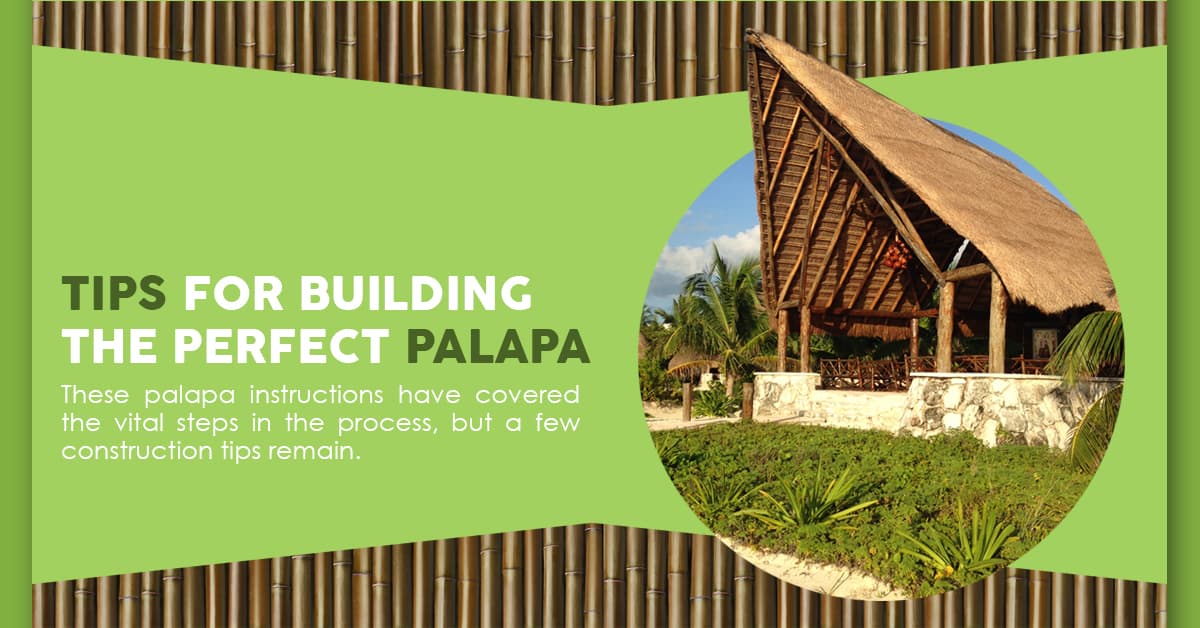
These palapa instructions have covered the vital steps in the process, but a few construction tips remain. Check out these final pieces of advice before you embark on your palapa building:
- Carry scissors or pruners with you as you’re attaching thatch to the roof. The thatching should extend over the edges, but not excessively, and this tool will allow you to trim any unseemly thatching areas.
- Ensure that your palapa thatch structure is wide enough to comfortably fit a table. When you’re lounging underneath or hosting a Tiki-themed party, you’ll want enough room to place snacks and refreshments.
- Bamboo poles that you order may look different from one another, but remember that this quality adds to an old-world feel. Embrace the organic look of the palapa, and appreciate the earthy aesthetic.
- Bamboo sealer and stain are wise and stylish choices to add to your structure. Change the hue of your bamboo palapa and show off an even more polished product. Sealer also increases the lifespan of your bamboo, although your climate and conditions ultimately determine the lifespan of the structure.
Palapa Supplies

Now that you’re prepared to build your own palapa, the only thing left before construction is finding the right supplies. Forever Bamboo provides thatching options, bamboo poles, bamboo products, tropical decorations and Tiki products. Our natural and synthetic roof thatch will make your palapa the focal point of your backyard or commercial facility.
We are the nation’s number one provider of tropical decor, and although our company is located in San Diego, California, we ship our products globally. Many of them even feature free shipping, so explore our product listings and order online today to take the first step in your palapa building journey. Try before you buy with a sample box! Place your order within 45 days of purchasing your samples and get $25 off. This makes your sample box FREE!
Contact us online or give us a call at 877-912-2244 to find out more about our products. Our customer support specialists are available to answer your questions and help with your orders Monday through Friday. We have highly trained and enthusiastic employees that will assist you with your tropical decor needs, so you can get excited to start building your palapa!
Post updated November 13, 2018.
can you give detailed instructions on how the roof is constructed. I am looking to build a palapa and am having a friend help, who is a carpenter. He is not sure how the roof stays up without any other support. Thanks
Charles